
So I've been wanting to make (and even purchased pillowcases for) a pillowcase dress. Grand plans with little time! Well this past week I had the opportunity to treasure hunt and found two GORGEOUS vintage pillowcases. I decided these pillowcases would be the dresses my younger daughters wore in our family pictures coming up.
 |
| Isn't it beautiful? |
 |
| As I got into this project I noticed these cases were handmade and not store bought :-) |
One of my favorite blogs even ran a pillowcase dress post and tutorial and I became even more inspired! So here's my Pillowcase Dress Tutorial and finished product:
Materials needed:
1 pillow case
ribbon (I used eyelet lace)
elastic
1 large & 1 small safety pin
pins
thread to match pillow case
Step 1: Measure the chest around the widest part and measure the length you would like. My measurements were 20" around the chest and 26" in length.
Step 2: Carefully measure your length adding 2 inches. Cut the closed end off. My pillowcase was now open on both ends and measured 28 inches.


Second, fold and press 1 inch


Pin the lace even with the top of the dress BEFORE adding the elastic!

Then pin lace along the hem line.

I used a lot of pins to help keep the lace straight with the top and hem line.

Step 5: Sew the lace with a straight stitch to the pillow case. Get as close to the edge at the top as possible. Sorry no picture for this step (Still new :)
Step 6: Add the elastic. This is where the chest measurement comes in. You need to cut your elastic to the same size as your child's chest. In my case 20 inches

Tip: use 2 safety pins when threading elastic so you don't lose your elastic inside your casing. Pin the small safety pin to one end of the elastic and to the seam of the pillowcase.

Pin the large safety pin to the other end of the elastic and use it to guide the elastic through the casing.

Overlap the ends of the elastic about 1/2" and sew them together with a wide and close together zigzag stitch.
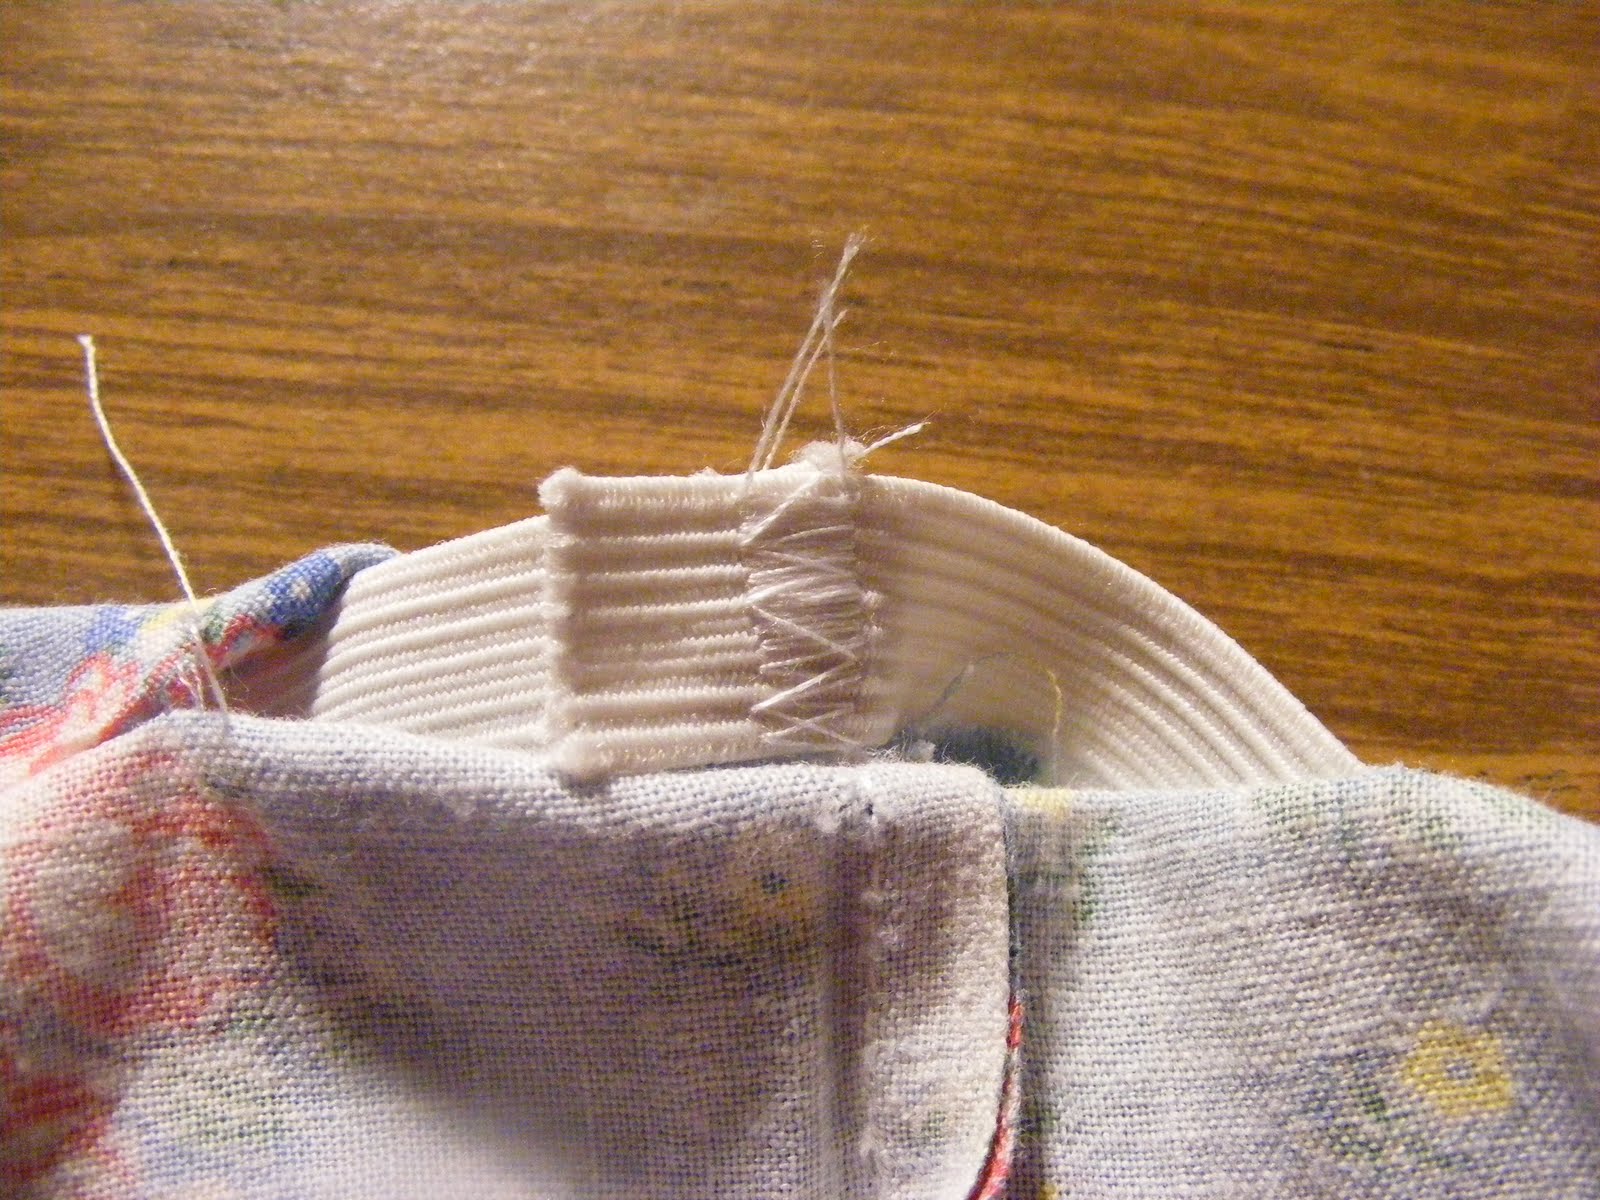
Step 7: Close the casing with a straight stitch hold the elastic taught.

Step 8: Attach the straps. I put the dress on my daughter to get an accurate measurement. Once straps are measured and pinned straight stitch to attach. Be sure to lock your stitch at the beginning and end.

I made the back come to a V.

Step 9: Enjoy your dress!


I'm very please with the way this dress turned out! I can't wait for our family pictures! There are so many variations to pillowcase dresses and so much you can do to jazz them up. They are such a fun project. Plus this dress worked up fast even with the unwanted trip to the seam ripper. But that's what I love about sewing, if you try and it doesn't work, rip it out and try something else!
No comments:
Post a Comment