Wednesday, June 15, 2011

Pressing: from a lady who HATES to iron

Ironing is defined as the act or process of smoothing or pressing clothes, linens, etc., with a heated iron.
See the lady NOT smiling, That's ME!

   Early on in life I learned quickly how to get around ironing. If I was wearing a jacket or vest I wouldn't need to iron the back of my shirt. I could toss a garment into the dryer with a damp rag and the wrinkles would fall out "enough". If the item was too wrinkled I just wouldn't wear it. I can not stand to iron. Even as an adult I choose clothing that doesn't need ironing or special care. Ironing is not a weekly or even monthly chore in my house. I break down and iron only if we are going somewhere special or are having pictures taken. Otherwise it just doesn't happen.

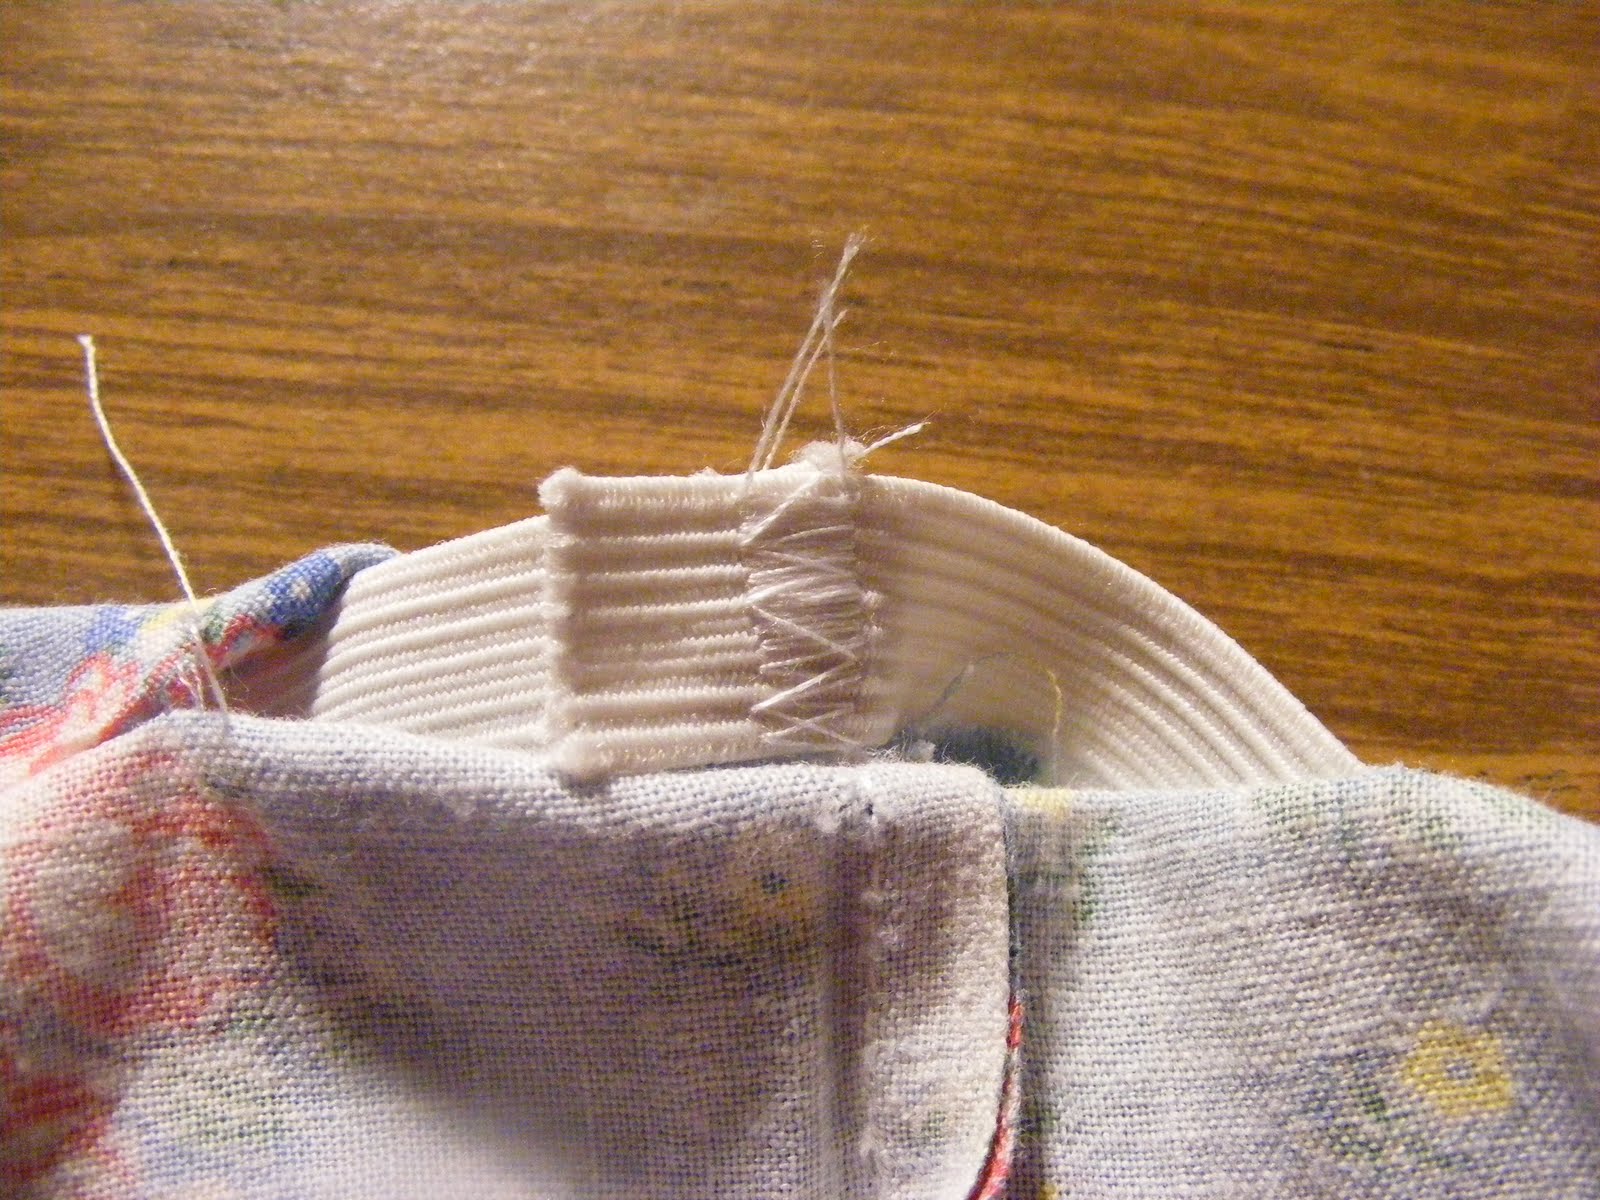
   So why is it that I keep an ironing board set up almost all the time? When you sew you must PRESS! I like to use the words press, pressed or pressing with sewing because I hate to iron. When you work with cotton fabrics it is essential to wash the fabric prior to cutting and sewing. Cotton shrinks. It's terrible when a hard days work goes out the door because the garment become too small or misshapen. After washing most fabrics need to be smoothed out. Even if you work right from the bolt there will be creases in your fabric. These wrinkles and creases need to be "pressed" out before cutting to insure correct sizing. Pressing also helps with hemming, making elastic casings, seam lines, shaping, etc.

    This was taught to me at an early age, but because I really despised using the iron, I ignored this rule often. It wasn't until a couple of years ago when I was fighting with a hem, that someone said "Well did you press the fabric down before trying to pin it?" NOoooo, of course not.... Once I began regularly pressing my folds for hems, I have a much easier time pinning and sewing them. They don't slip as much and they turn out much cleaner and even. I also noticed that pressing the fabric prior to use helped insure even pattern pieces. When your pieces match up nicely your end product will be better.

    So when a pattern, tutorial, or instructions say to press a fold, hem, seam, etc, do so. This is a step that should not be skipped. Take it from a lady who hates to iron, pressing is very important and worth the extra time. (Which is only like a minute so don't skip it!)

Sunday, June 12, 2011

Pillowcase Dress

So I've been wanting to make (and even purchased pillowcases for) a pillowcase dress. Grand plans with little time! Well this past week I had the opportunity to treasure hunt and found two GORGEOUS vintage pillowcases. I decided these pillowcases would be the dresses my younger daughters wore in our family pictures coming up.
Isn't it beautiful?

As I got into this project I noticed these cases were handmade and not store bought :-)
One of my favorite blogs even ran a pillowcase dress post and tutorial and I became even more inspired! So here's my Pillowcase Dress Tutorial and finished product:

Materials needed:
1 pillow case
ribbon (I used eyelet lace)
elastic
1 large & 1 small safety pin
pins
thread to match pillow case

Step 1: Measure the chest around the widest part and measure the length you would like. My measurements were 20" around the chest and 26" in length.

Step 2: Carefully measure your length adding 2 inches. Cut the closed end off. My pillowcase was now open on both ends and measured 28 inches.


Step 3: Make the casing for the elastic. First fold and press 1/2 inch.

 
Second, fold and press 1 inch


Third, Straight stitch all the way around leaving a small opening to insert the elastic.


Step 4: Add the lace. I tried this after I ran the elastic and bad things happened. I was forced to use the seam ripper....
Pin the lace even with the top of the dress BEFORE adding the elastic!


Then pin lace along the hem line.


I used a lot of pins to help keep the lace straight with the top and hem line.


Step 5: Sew the lace with a straight stitch to the pillow case. Get as close to the edge at the top as possible. Sorry no picture for this step (Still new :)

Step 6: Add the elastic. This is where the chest measurement comes in. You need to cut your elastic to the same size as your child's chest. In my case 20 inches


Tip: use 2 safety pins when threading elastic so you don't lose your elastic inside your casing. Pin the small safety pin to one end of the elastic and to the seam of the pillowcase.


Pin the large safety pin to the other end of the elastic and use it to guide the elastic through the casing.


Overlap the ends of the elastic about 1/2" and sew them together with a wide and close together zigzag stitch.


Step 7: Close the casing with a straight stitch hold the elastic taught.


Step 8: Attach the straps. I put the dress on my daughter to get an accurate measurement. Once straps are measured and pinned straight stitch to attach. Be sure to lock your stitch at the beginning and end.


I made the back come to a V.


Step 9: Enjoy your dress!


I'm very please with the way this dress turned out! I can't wait for our family pictures! There are so many variations to pillowcase dresses and so much you can do to jazz them up. They are such a fun project. Plus this dress worked up fast even with the unwanted trip to the seam ripper. But that's what I love about sewing, if you try and it doesn't work, rip it out and try something else!

Friday, June 10, 2011

Hello All

I'd like to welcome you to ZANy213. One definition of zany is whimsically comical and a few synonyms are eccentric, humorous, comical, goofy, witty. These are the best way I can describe life as I know it. Surprising enough my daughters first name initials are Z, A, N oldest to youngest. And an extraordinary fact is that my daughters all share the same birthday yet were all born in different years. Kinda crazy huh? Thus the reasoning behind the name ZANy213. Then we threw in a boy to mix things up.

I hope to blog about projects, findings, happenings, and just being a housewife and mother in general. I enjoy sewing, crocheting, knitting, cooking, baking, gardening, antiques, anything vintage, and being the best mother possible. I plan to provide as many tutorials as possible because I know how much I love a great tutorial. With all the crazy things life has to bring you'll never know what's to come on this blog, but hopefully you will enjoy.

Small print: I'm not a writer in any sense of the word. Enjoy the content forgive the errors :)